


How to Flush & Clear DNS Cache in Google Chrome Browser
Google Chrome web browser or OS has a built-in internal DNS caching mechanism which stores and saves the domain name to IP address resolution information which it had previously resolved. In addition, if you enabled the ‘predict network actions to improve page load performance’ feature, Chrome will also look up IP addresses of all links on the web page in advance, and store the information in the internal DNS cache.
The Google Chrome OS or web browser internal DNS cache is in addition to DNS caching done by operating system such as Windows, Mac OS X or Linux. Thus even after you flush the DNS cache on operating system level, the domain may still resolve to old IP address due to DNS cache on Chrome itself. Chrome does not provide a way to disable the DNS cache. In the case when you need to refresh the DNS information that is been cached by Chrome, the only workaround is to flush and clear the DNS cache whenever the needs arise.
In order to flush and clear DNS cache of Google Chrome or Chrome OS, follow one of these two methods:
Method 1
In Chrome browser, navigate to chrome://net-internals/#dns and then press the Clear host cache button.
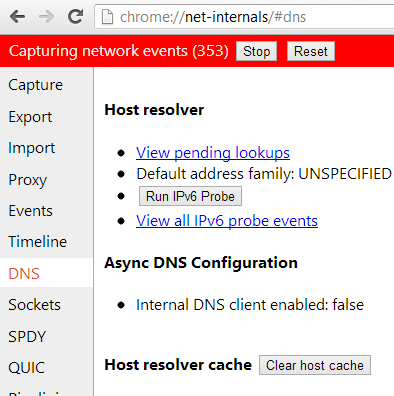
Note: This method may not work in some version of Google Chrome web browser.
Method 2
Open up the Chrome menu, then go to Tools -> Clear browsing data (depending on the version of your Chrome, you may need to access this option through Tools -> Options -> Under the hood -> Clear Browsing data).
Select the beginning of time as the value for ‘Obliterate the following items from’ drop down, and then select the Empty the cache.
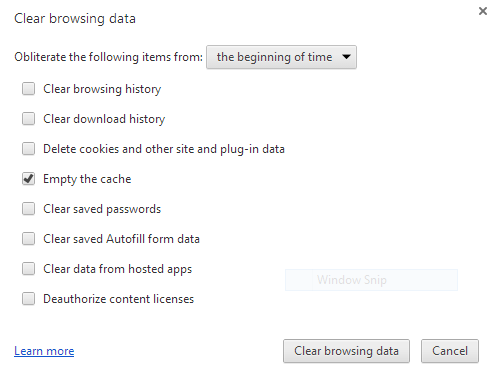
Click Clear browsing data when done. Note that this option delete and clear all temporary Internet files, i.e. the local cached copy of websites you’ve visited, and will also remove and flush the DNS cache.


Recent Articles
- How To Download HBO Shows On iPhone, iPad Through Apple TV App
- Windows 10 Insider Preview Build 19025 (20H1) for PC Official Available for Insiders in Fast Ring – Here’s What’s News, Fixes, and Enhancement Changelog
- Kaspersky Total Security 2020 Free Download With License Serial Key
- Steganos Privacy Suite 19 Free Download With Genuine License Key
- Zemana AntiMalware Premium Free Download For Limited Time