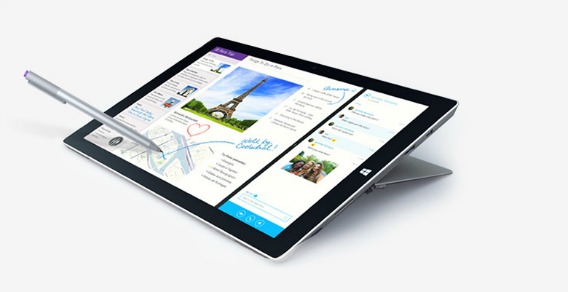
How To Capture Screenshot on the Surface 3
You can send text-based messages and emails from Surface 3 anytime, but sometimes you may want to share information on phone screen such as high scores you’ve achieved while playing games and other information to friends or family, you need a screenshot. Screenshots are very useful and easily for keep something as memory or share information purpose.
Fortunately, taking screenshot on Surface 3 is not hard and there is few method to capture a screenshot on Surface 3. To do this trick, just follow the method below.
- Press and hold the Windows button on the Surface 3, and then press the volume down button simultaneously. The screen will dims for a second to save screenshot in the Screenshots folder of the Pictures library.
Method 2:
- Press and hold the Windows button, then press the PrtScn button. The screen will dims for a second and saves the screenshot in the Screenshots folder.
Method 3:
- Just simply press the PrtScn button. It just copies the whole screen to clipboard.
- Open photo editing application like Paint or Photoshop, and then long press to paste the screenshot.
Method 4:
- Press and hold the Alt key then press PrtScn button to copy just the active window instead of the whole screen.
- Then, screenshot will copy to clipboard.
- Same as method 3, paste the screenshot from clipboard to photo editing application.
Method 5:
- Using the Surface Pen, and double-click the top button.
- Select the screen like to capture by dragging the tip of the pen from one corner to the opposite corner.
- Once lift the pen tip, your selection will appears in a new page in OneNote. You can then add more notes or drawing to the image.
Method 6:
- Launch the Snipping Tool application in desktop mode
- Tap or click the arrow next to the New button, and choose the kind of snip you want.
- Then pick the area of screen that wants to capture.
- Once pick, the screenshot will automatically copied to the Snipping Tool where you can save later.
Hope above solution can help you solve problems on capturing screen on Surface 3. If you have any questions or problems, please let us know them in the comment box below.
You can share or follow us on Twitter, add us to your circle on Google+ or like our Facebook page to keep yourself updated on all the latest info from Microsoft, Google, Apple and the Web.
Recent Articles
- How To Download HBO Shows On iPhone, iPad Through Apple TV App
- Windows 10 Insider Preview Build 19025 (20H1) for PC Official Available for Insiders in Fast Ring – Here’s What’s News, Fixes, and Enhancement Changelog
- Kaspersky Total Security 2020 Free Download With License Serial Key
- Steganos Privacy Suite 19 Free Download With Genuine License Key
- Zemana AntiMalware Premium Free Download For Limited Time


